Tampa homeowners love outdoor kitchens for year-round grilling and entertaining. But Tampa’s humid, coastal climate brings moisture, salt air, and sudden rain that can challenge any outdoor cooking setup. A properly installed outdoor range hood is essential for safety, air quality, and long-term equipment performance. From planning the layout to ensuring proper venting and electrical connections, every step matters. This guide walks you through the key stages of safe and efficient installation so your outdoor kitchen stays fresh, functional, and energy-efficient for years.
Planning for Tampa’s Humid Coastal Conditions
Before selecting equipment or starting installation, consider Tampa’s unique environment. High humidity and salty air accelerate corrosion, while heavy rain can infiltrate poorly sealed vents. Planning for these factors from the start ensures your range hood will last.
Key points to remember
- Choose corrosion-resistant materials such as 304 or 316 stainless steel.
- Design proper drainage and water seals to prevent rain intrusion.
- Account for prevailing wind direction to optimize smoke capture.
For more ideas on planning an outdoor kitchen in challenging climates, explore helpful insights here.
Selecting the Right Range Hood and Ventilation Power
Not all outdoor range hoods are created equal. Tampa’s grilling habits and humid weather demand high-powered ventilation to clear smoke, grease, and heat effectively. Professionals typically recommend a hood at least six inches wider than the grill with a minimum of 1,000 cubic feet per minute (CFM) airflow.
Proper sizing prevents smoke from lingering, keeps surfaces clean, and supports comfortable outdoor dining.
For professional guidance on selecting the right size and power, discover expert advice here.
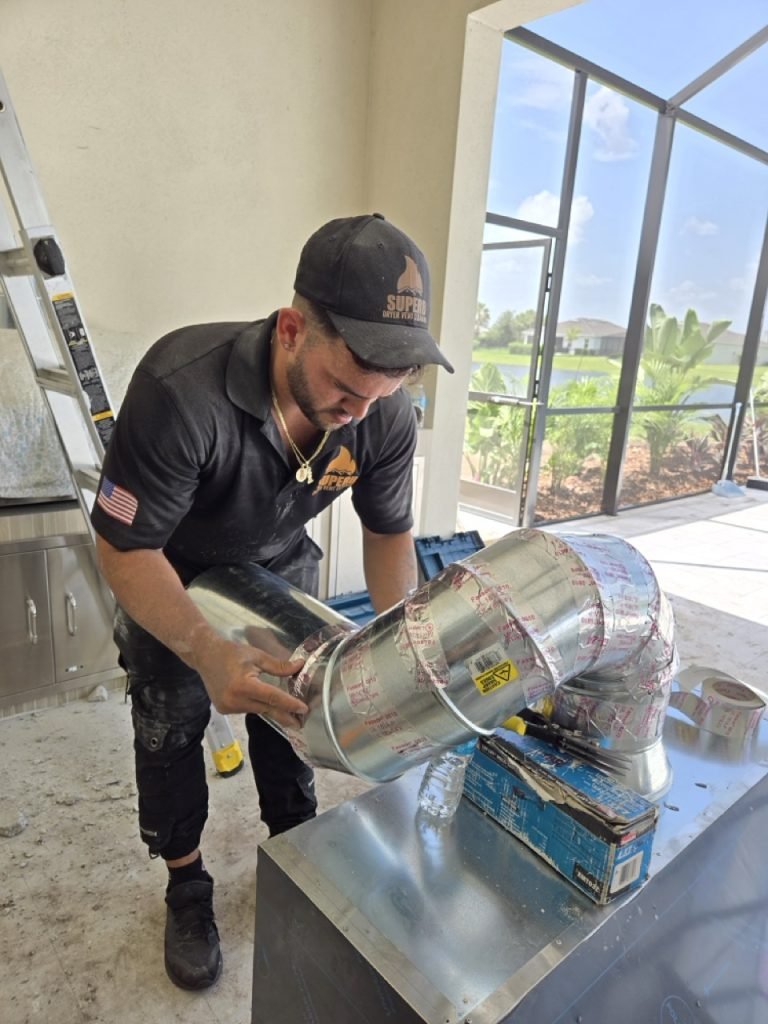
Designing Effective Ductwork
Efficient ductwork is the backbone of any successful range hood installation. Ducts should be short, straight, and constructed from durable, weather-resistant materials to reduce airflow resistance and energy use. Horizontal runs must be minimal, and all seams sealed tightly to prevent leaks and saltwater intrusion.
Key points to remember
- Use rigid, corrosion-resistant ducts for durability.
- Keep duct runs as straight and short as possible.
- Install weatherproof caps to protect against rain and coastal moisture.
For additional guidance on outdoor ventilation design, review related professional services here.
Ensuring Safe Electrical Connections
Outdoor range hoods require dedicated electrical circuits and weather-rated outlets to handle variable loads and prevent hazards. All wiring must meet local building codes and be installed in waterproof conduit to protect against Tampa’s frequent rainstorms.
Hiring a licensed electrician is essential to ensure proper grounding, safe GFCI outlets, and code-compliant connections that protect both the equipment and your home.
Key points to remember
- Use outdoor-rated wiring and weatherproof covers.
- Confirm proper grounding to avoid electrical hazards.
- Schedule professional electrical inspection after installation.
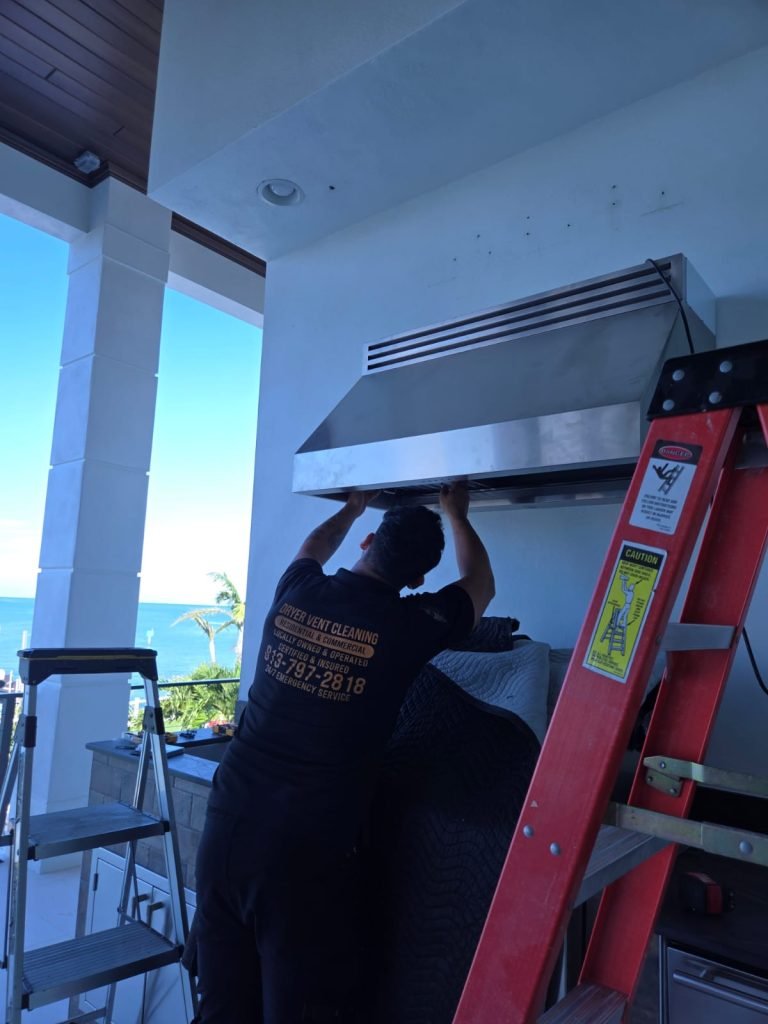
Mounting and Positioning the Hood
Correct positioning guarantees optimal performance. The hood should typically be mounted 30 to 36 inches above the cooking surface to capture smoke and grease effectively while staying safe from heat damage. Structural supports must handle the weight of stainless steel and resist corrosion.
Key points to remember
- Align the hood’s center with the grill for maximum efficiency.
- Ensure secure anchoring to withstand wind and vibration.
- Verify that mounting hardware is corrosion-resistant.
Integrating Lighting and User Comfort
Modern outdoor range hoods often feature LED lighting and multi-speed fans for convenience and efficiency. Proper installation ensures that lights are positioned to illuminate cooking surfaces without glare, and fan controls are accessible even when wearing grilling gloves.
These thoughtful touches improve cooking safety and create an inviting atmosphere for evening gatherings.
For maintenance and performance tips, find helpful ideas here.
Testing Performance and Airflow
Before completing the project, professionals perform a full system test. They measure airflow to confirm that the range hood reaches its rated CFM and check for leaks, unusual vibrations, or motor noise. Adjustments to duct seals or fan settings may be made on-site to ensure long-term efficiency.
Key points to remember
- Measure airflow to verify full suction power.
- Inspect seams and joints for leaks or weak points.
- Confirm quiet, stable fan operation at all speed settings.
Establishing a Maintenance Plan
Even the best installation requires routine care. Regular maintenance includes cleaning grease filters, checking duct seals, and inspecting electrical connections. A professional service visit at least once a year ensures your outdoor range hood remains safe and efficient.
For additional maintenance strategies that extend equipment life, review expert recommendations here.
Conclusion
A safe and efficient outdoor range hood installation is essential for Tampa homes. Careful planning for humid, coastal conditions, selecting the right size and materials, ensuring code-compliant electrical work, and verifying airflow all contribute to long-lasting performance and a healthy cooking environment. Routine maintenance keeps your system running smoothly and protects your investment for years to come.
When you are ready to build or upgrade your outdoor kitchen, you can connect with a trusted local team here. To learn more about their approach and experience, explore their professional services or review outdoor range hood installation solutions before scheduling.
Frequently Asked Questions
1. Why is professional installation important for outdoor range hoods?
Expert installation ensures proper venting, safe wiring, and weatherproofing, all essential in Tampa’s coastal climate.
2. How powerful should an outdoor range hood be for heavy grilling?
A minimum of 1,000 CFM is recommended to capture smoke and grease effectively.
3. What materials best resist Tampa’s salty air?
304 or 316 stainless steel and powder-coated finishes provide strong corrosion resistance.
4. How high should the hood be mounted above the grill?
Typically 30 to 36 inches, depending on grill size and hood manufacturer recommendations.
5. What kind of ductwork is best for outdoor kitchens?
Rigid, corrosion-resistant ducts with minimal bends and tightly sealed seams maintain airflow and durability.
6. Do outdoor range hoods require special electrical connections?
Yes. A dedicated circuit, GFCI protection, and weatherproof conduit are essential for safety.
7. How often should the system be inspected?
At least once a year and after major storms to check filters, ducts, and electrical components.
8. Can LED lighting be integrated into outdoor range hoods?
Yes. LED lights provide energy-efficient illumination for safe evening cooking.
9. What are signs of poor installation?
Weak suction, persistent smoke, unusual noise, or water intrusion indicate installation issues.
10. Does proper installation increase the hood’s lifespan?
Absolutely. Correct mounting, sealed ducts, and safe wiring protect equipment and reduce repair costs.